Time required: About 10 minutes for initial setup. Your first briefing appears within 30 seconds of connecting email. Full Contact Intelligence (top 50 contacts) builds in the background over the next hour.
Step 1: Create Your Account
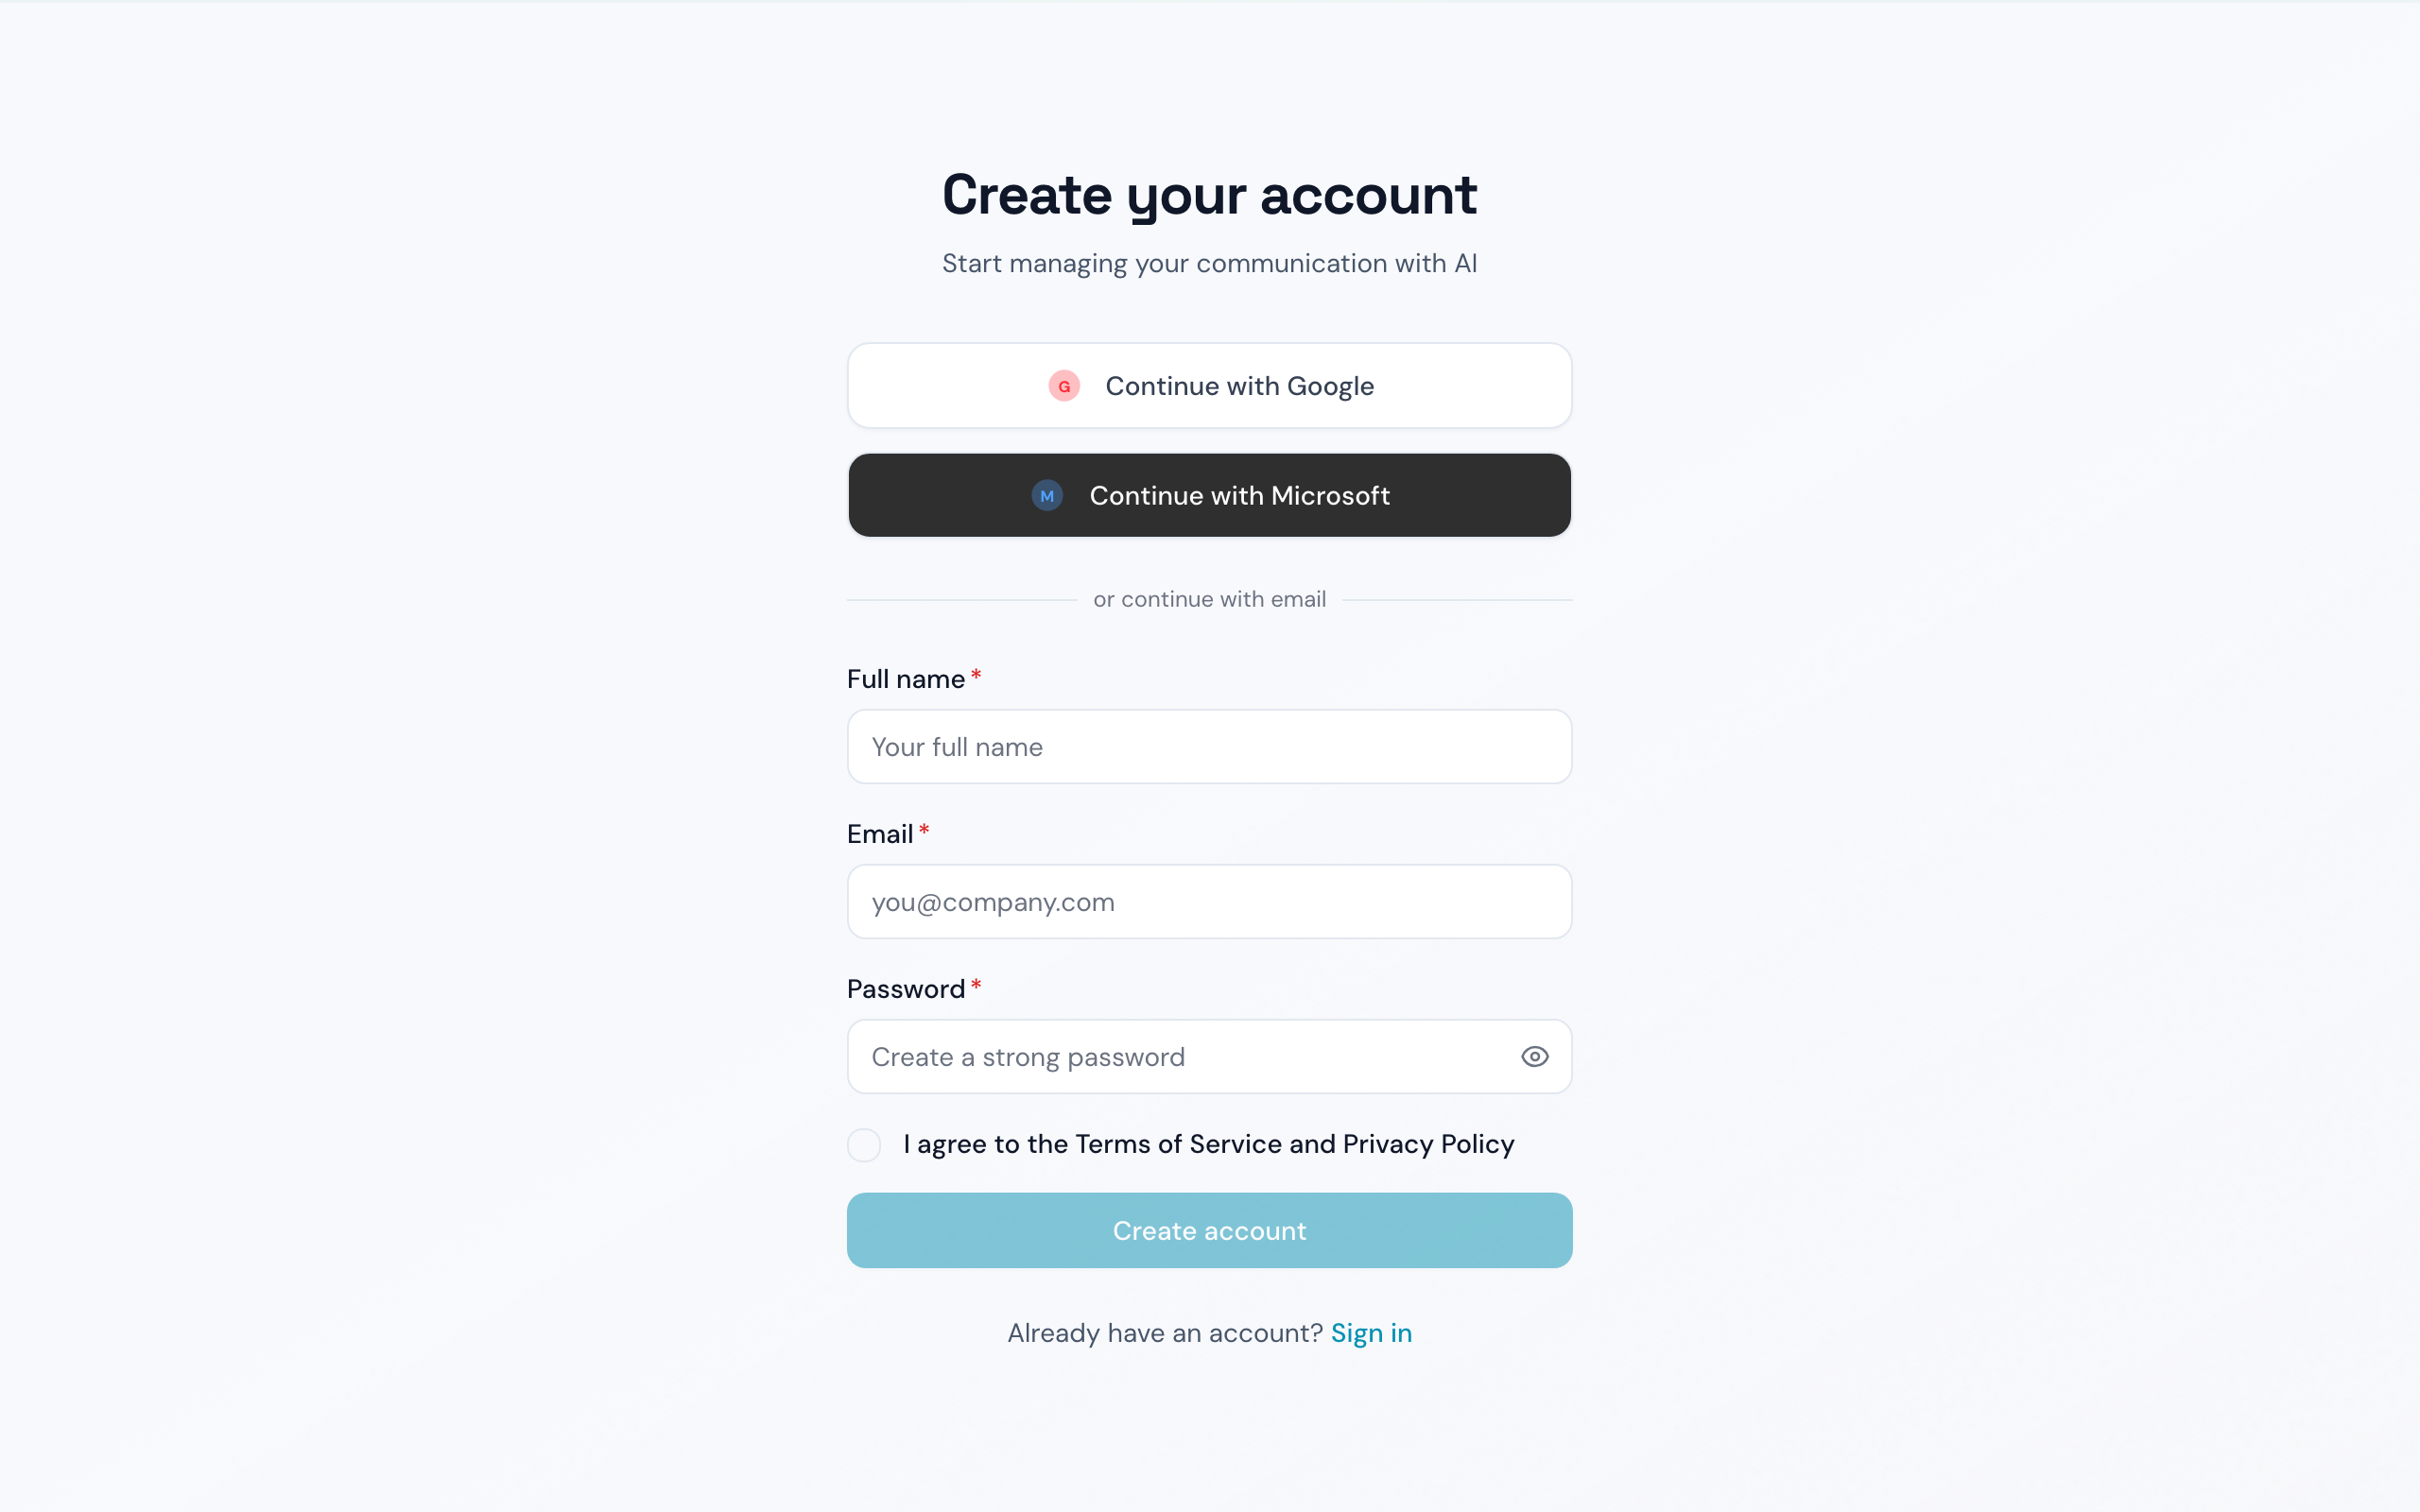
Go to outband.ai and select Get Started
You can sign up with your email address and a password, or use Google or Microsoft sign-in for faster setup.
Step 2: Connect Your Email
This is the most important step. Outband needs access to your email to build your Contact Intelligence.Select your email provider
Choose Gmail or Outlook. If you use another IMAP-compatible provider, select Outlook and enter your IMAP settings.
Grant permissions
You will be redirected to Google or Microsoft to authorize Outband. Outband requests read access to your emails so it can analyze your communication patterns.
Step 3: Set Your Communication Style
While Outband processes your emails in the background, you can configure your preferences.Choose your communication style
Select from Formal, Casual, or Adaptive (automatically matches the tone of each conversation). Adaptive is recommended for most users.
Mark your VIP contacts
Select 5-10 contacts who are most important to you. Outband will prioritize these in your briefings and build their Contact Models first.
Step 4: Explore Your First Briefing
After setup, you land on your Dashboard — the Daily Briefing view. You will see your communications organized into clear sections:| Section | What it shows |
|---|---|
| Urgent / Needs Response | Messages that need your attention today |
| For Your Information | Updates you should know about but do not need to respond to |
| Auto-Handled | Messages Outband has already categorized (in Observer mode, this shows what would be auto-handled at higher trust levels) |
- Who the message is from (with their Contact Model confidence level)
- What the AI thinks the message is about
- Why it was categorized this way
- What you can do — reply, archive, snooze, or escalate
What Happens Next
Within 1 hour
Outband builds Contact Models for your top 50 contacts by analyzing your email history. You will start seeing contact insights on each briefing item.
Within 1 day
Your Personal DNA — your own communication profile — becomes more refined. Drafts start matching your voice more closely.
Within 1 week
Contact Models improve with each new interaction. If you use Drafter mode, the RLHF feedback loop kicks in — every correction makes future drafts better.
Ongoing
The longer you use Outband, the more accurate it becomes. Contact intelligence compounds over time.
Optional: Connect More Channels
You can connect additional channels at any time from Settings > Connected Accounts:- Outlook (if you started with Gmail, or vice versa)
- Slack — read channels and DMs for unified communication intelligence
- WhatsApp — monitor WhatsApp Business messages
- Calendar — Google Calendar or Outlook Calendar for meeting context
Each channel you connect enriches your Contact Models with cross-channel context. A contact you email and also message on Slack will have a richer, more accurate Contact Model.
Next Steps
Daily Briefing
Learn how to get the most out of your Daily Briefing.
Trust Levels
Understand when and how to give Outband more autonomy.
Drafts
Start using AI-powered draft responses.
Contact Intelligence
Explore your Contact Models and Perception Prediction.