> ## Documentation Index
> Fetch the complete documentation index at: https://docs.outband.ai/llms.txt
> Use this file to discover all available pages before exploring further.
# Getting Started
> Everything you need to know about signing up, connecting your accounts, and configuring Outband for the first time.
This guide covers the full onboarding experience -- from creating your account to having a fully configured Outband workspace.
## Creating Your Account
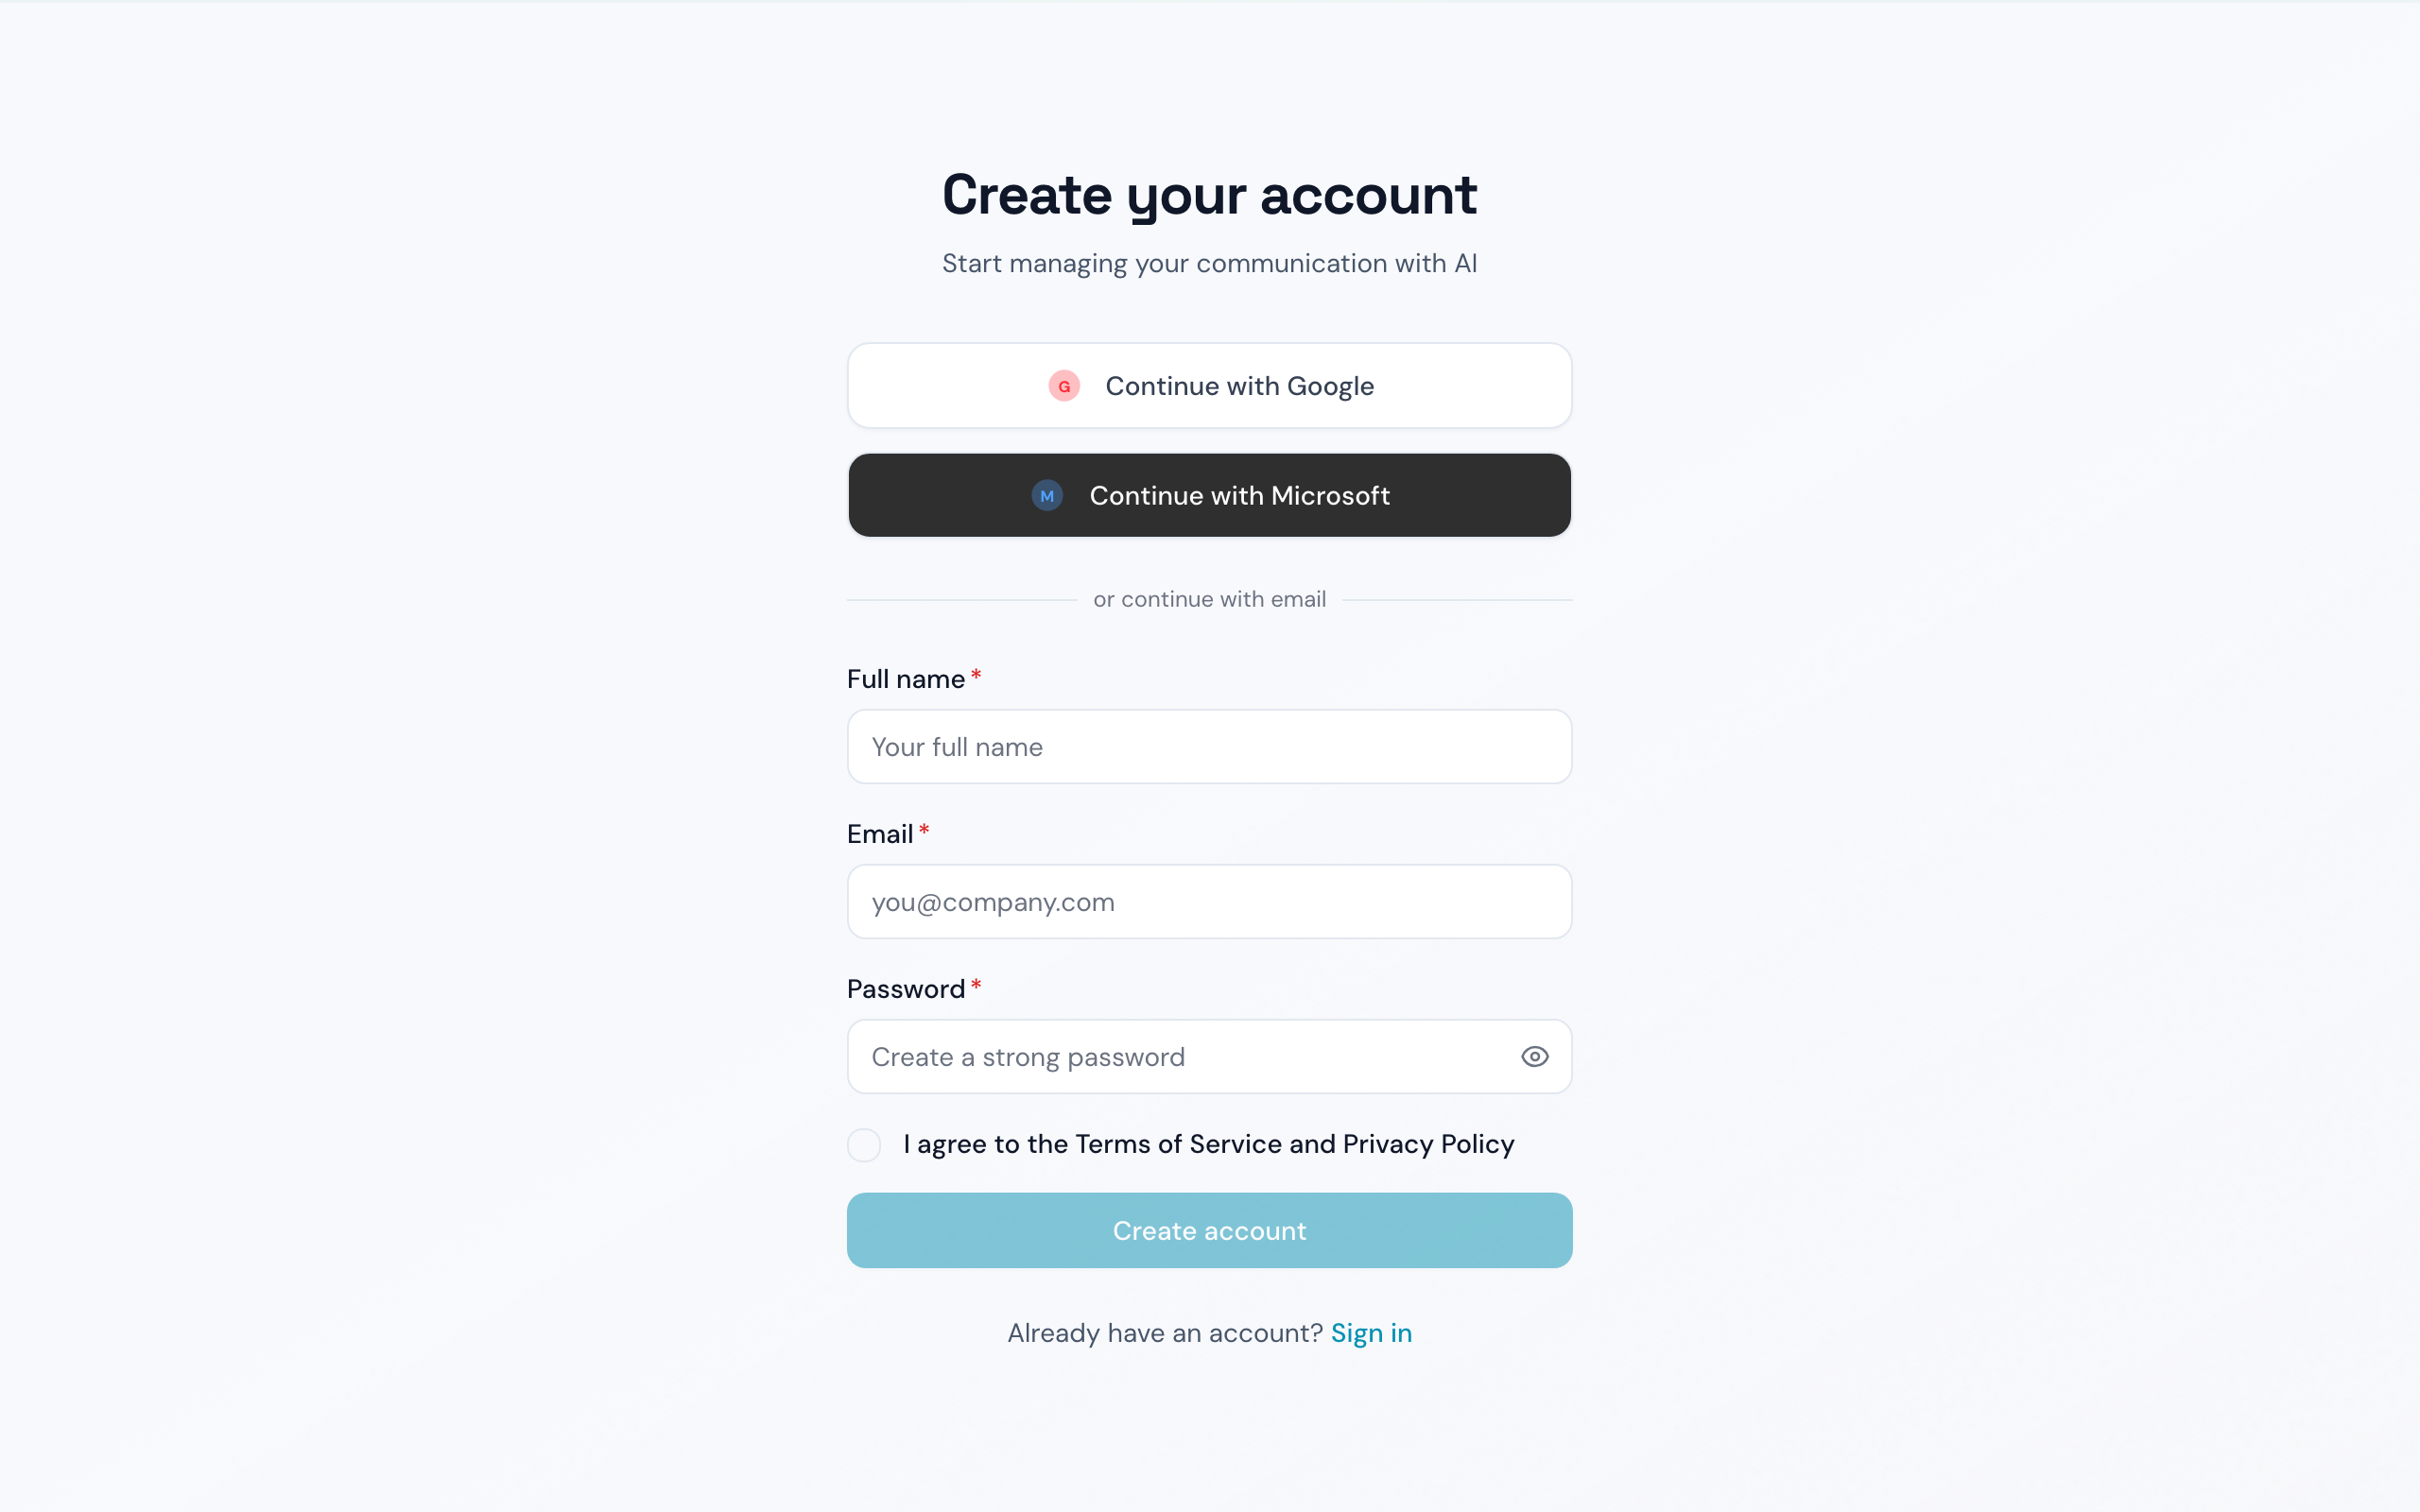
You can create an Outband account in three ways:
1. **Email and password** -- Enter your email address and choose a password
2. **Sign in with Google** -- Use your Google account for one-click signup
3. **Sign in with Microsoft** -- Use your Microsoft account for one-click signup
After creating your account, you will see a welcome screen where you can select your preferred language (English or Japanese).
 If your organization uses enterprise SSO (SAML), your IT administrator will provide you with a direct sign-in link. See the [Team Collaboration](/journeys/team-collaboration) guide for enterprise setup.
## Connecting Your Email
Connecting your email is the single most important step. Outband analyzes your email history to build Contact Intelligence.
### Gmail
1. On the **Connect Email** screen, select the **Gmail** button
2. You will be redirected to Google's authorization page
3. Review the permissions Outband is requesting and select **Allow**
4. You will be returned to Outband, and processing begins immediately
### Outlook
1. Select the **Outlook** button
2. Sign in to your Microsoft account
3. Review and approve the requested permissions
4. Outband begins processing your email
### Other email providers (IMAP)
If you use a different email provider that supports IMAP, you can connect it through the Outlook/IMAP option by providing your IMAP server settings.
Outband needs read access to your email to function. If you deny permissions during the OAuth step, you can try again -- Outband will explain exactly which permissions are needed and why.
## What Happens After You Connect
Once you grant email access, several things happen simultaneously:
| Timeline | What happens |
| --------------------------- | -------------------------------------------------------------------------------------------------------------------------------- |
| **0-30 seconds** | Outband fetches your last 48 hours of emails and creates a quick-pass categorization. Your first Daily Briefing preview appears. |
| **30 seconds - 10 minutes** | You continue through the optional setup steps (style, VIP contacts, trust level) while processing continues in the background. |
| **10 minutes - 1 hour** | Outband imports your full email history (6-24 months) and builds Contact Models for your top 50 contacts. |
| **1 hour+** | Contact Models continue to refine with every new message. |
## Setting Your Communication Style
Choose how you typically communicate:
* **Formal** -- Professional, structured language. Best for executives and external-facing roles.
* **Casual** -- Relaxed, conversational tone. Best for internal team communication.
* **Adaptive** (recommended) -- Outband automatically matches the tone of each conversation. Formal with your board, casual with your team.
## Marking VIP Contacts
Select 5-10 contacts who matter most to you. VIP contacts:
* Appear at the top of your Daily Briefing
* Have their Contact Models built first
* Are never auto-handled, even at higher trust levels
* Always require your personal attention
You can add or remove VIP contacts at any time from the **Contacts** page.
## Choosing Your Trust Level
Your initial trust level determines how much Outband can do on your behalf. See [Trust Levels](/concepts/trust-levels) for a detailed explanation.
For most new users, we recommend starting with **Observer** -- Outband reads and summarizes your communications without taking any actions. You can upgrade your trust level as you become more comfortable.
## Skipping Setup Steps
Every step after connecting your email is optional. If you want to get started quickly:
* Select **Skip** on any setup screen to use default settings
* Outband applies sensible defaults (Adaptive style, Observer trust level)
* You can configure everything later from **Settings**
## Signing In Later
When you return to Outband:
1. Go to [outband.ai](https://outband.ai)
2. If your session is still active, you will be taken directly to your Dashboard
3. If your session has expired, sign in with your email/password or social account
4. You will be returned to whatever page you were on before
Outband supports light mode, dark mode, and system preference. You can change your theme from **Settings > Appearance**.
## Next Steps
Learn how to use your Daily Briefing effectively.
Add Slack, WhatsApp, and Calendar for richer intelligence.
If your organization uses enterprise SSO (SAML), your IT administrator will provide you with a direct sign-in link. See the [Team Collaboration](/journeys/team-collaboration) guide for enterprise setup.
## Connecting Your Email
Connecting your email is the single most important step. Outband analyzes your email history to build Contact Intelligence.
### Gmail
1. On the **Connect Email** screen, select the **Gmail** button
2. You will be redirected to Google's authorization page
3. Review the permissions Outband is requesting and select **Allow**
4. You will be returned to Outband, and processing begins immediately
### Outlook
1. Select the **Outlook** button
2. Sign in to your Microsoft account
3. Review and approve the requested permissions
4. Outband begins processing your email
### Other email providers (IMAP)
If you use a different email provider that supports IMAP, you can connect it through the Outlook/IMAP option by providing your IMAP server settings.
Outband needs read access to your email to function. If you deny permissions during the OAuth step, you can try again -- Outband will explain exactly which permissions are needed and why.
## What Happens After You Connect
Once you grant email access, several things happen simultaneously:
| Timeline | What happens |
| --------------------------- | -------------------------------------------------------------------------------------------------------------------------------- |
| **0-30 seconds** | Outband fetches your last 48 hours of emails and creates a quick-pass categorization. Your first Daily Briefing preview appears. |
| **30 seconds - 10 minutes** | You continue through the optional setup steps (style, VIP contacts, trust level) while processing continues in the background. |
| **10 minutes - 1 hour** | Outband imports your full email history (6-24 months) and builds Contact Models for your top 50 contacts. |
| **1 hour+** | Contact Models continue to refine with every new message. |
## Setting Your Communication Style
Choose how you typically communicate:
* **Formal** -- Professional, structured language. Best for executives and external-facing roles.
* **Casual** -- Relaxed, conversational tone. Best for internal team communication.
* **Adaptive** (recommended) -- Outband automatically matches the tone of each conversation. Formal with your board, casual with your team.
## Marking VIP Contacts
Select 5-10 contacts who matter most to you. VIP contacts:
* Appear at the top of your Daily Briefing
* Have their Contact Models built first
* Are never auto-handled, even at higher trust levels
* Always require your personal attention
You can add or remove VIP contacts at any time from the **Contacts** page.
## Choosing Your Trust Level
Your initial trust level determines how much Outband can do on your behalf. See [Trust Levels](/concepts/trust-levels) for a detailed explanation.
For most new users, we recommend starting with **Observer** -- Outband reads and summarizes your communications without taking any actions. You can upgrade your trust level as you become more comfortable.
## Skipping Setup Steps
Every step after connecting your email is optional. If you want to get started quickly:
* Select **Skip** on any setup screen to use default settings
* Outband applies sensible defaults (Adaptive style, Observer trust level)
* You can configure everything later from **Settings**
## Signing In Later
When you return to Outband:
1. Go to [outband.ai](https://outband.ai)
2. If your session is still active, you will be taken directly to your Dashboard
3. If your session has expired, sign in with your email/password or social account
4. You will be returned to whatever page you were on before
Outband supports light mode, dark mode, and system preference. You can change your theme from **Settings > Appearance**.
## Next Steps
Learn how to use your Daily Briefing effectively.
Add Slack, WhatsApp, and Calendar for richer intelligence.